How to Quickly Perform 3D Inspection on Complex Mould?
Moulds are comprised of different even very complicated parts, therefore, quality control becomes one of the key procedures for making well-qualified moulds. Manufacturers usually use traditional tools such as vernier calipers and micrometers. However, such tools are not convenient to operate, besides it’s difficult to accurately measure the concave and curved surface.

What Mould Manufacturer Needs?
Due to many differences between processing equipment and technologies, mould often fails to meet the required precision. The mould manufacturer originally uses CMM that is not time effective:
- Mechanical wear of probe and object’s surface
- Limited applications: hard to measure soft surface
- Measurement speed restricted by mechanical motion
- Limited measuring range
- Sensitive to temperature and humidity
- Unable to capture the full 3D data of the object
However, 3D scanners can accurately obtain the ultra-high 3D data by non-contact measurement:
- Much flexible
- Easy to scan large objects
- High performance in scanning complex and curved surface
- Easily scan black and specular materials
- Work normally in direct sunlight, which is useful for outdoor operation
- Dynamic measuring: free movement between scanner and object
In order to improve work efficiency, the customer chose SCANOLOGY handheld 3D laser scanner to quickly inspect and make data analysis.
SCANOLOGY 3D Solution
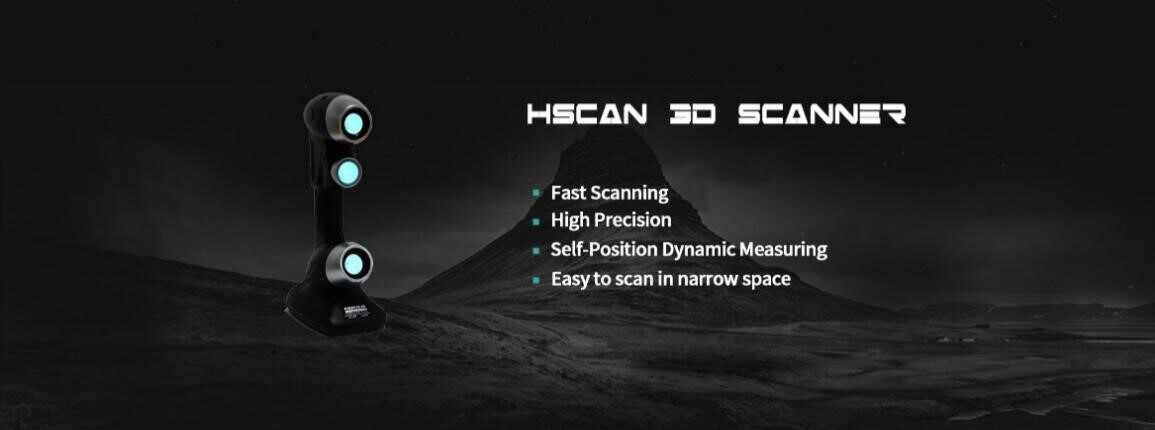
Our experts use handheld 3D scanner HSCAN to eliminate the deviations for mould inspection.

Step 1: Attach markers without spraying powder
Step 2: Quickly capture 3D data on curved and complex surface of the moulds
Step 3: Transfer the 3D data to scan software ScanViewer
Step 4: Get comprehensive deviations by comparing the obtained 3D data with the original 3D model and generate inspection reports
Moulds Scanning
Object 1: Cylinder external die
Time Cost:
Attaching markers: 3 minutes
Scanning: 5 minutes
Data process & analyzing report: 10 minutes
Scanning Data

 Point cloud and stl 3D data

Optimal fitting alignment
Object 2: Hitachi mould
Time Cost:
Attaching markers: 2 minutes
Scanning: 5 minutes
Data process & analyzing report: 10 minutes

Laser scanning by HSCAN 3D scanner

Point cloud and stl 3D data

Optimal fitting alignment
Object 3: Oil channel lower core box
Time Cost:
Attaching markers: 5 minutes
Scanning: 10 minutes
Data process & analyzing report: 10 minutes

Stl 3D data obtained by HSCAN 3D scanner

3D comparison results (the coating layer in mould cavity is 0.2mm)
Nowadays, moulds manufactures are gradually pursuing technologies that are more advanced. They realize the inconvenience and unsatisfactory efficiency of traditional measuring tools under the fierce market. However, our handheld 3D laser scanners have great work efficiency and excellent performance. We can help manufacturers streamline workflow and get precise deviations on the phase of products’ processing.


