Summary
The project is to scan and inspect an auto instrument panel before and after the heating and cooling to check its changes. The customer used SCANOLOGY’s handheld 3D scanner SIMSCAN for inspection.
Non-destructive and non-contact tests for auto components are essential to ensure the parts are qualified.
A growing number of solid and lightweight plastic materials are being used in the automotive industry. The wide use of these materials aims to reduce curb weight, improve fuel economy, and enhance performance.
In the automotive industry, clients rely on inspection and testing solutions to ensure the quality of auto parts throughout the entire design and development process. The inspections range from testing of raw materials, in-process manufacturing, and analysis of finished products.
The auto parts are subject to inspection to check whether they meet stringent requirements of geometric dimensions and tolerances (GD&T). The characteristics of these materials are also tested, including their ability to resist strength and reaction to stress and temperature.
Precise and non-destructive tests for auto components are essential for automotive manufacturing, as the failure of auto parts could lead to disastrous consequences.
SCANOLOGY offers advanced and portable 3D scanners to inspect parts manufactured to ensure they are within specification. These sophisticated 3D solutions can be also used to analyze quality, detect flaws, and more.
Case Background
A world-leading inspection, verification, testing, and certification company SGS reached SCANOLOGY to perform in-depth testing on an auto instrument panel with 3D scanning.
Goals of the Project
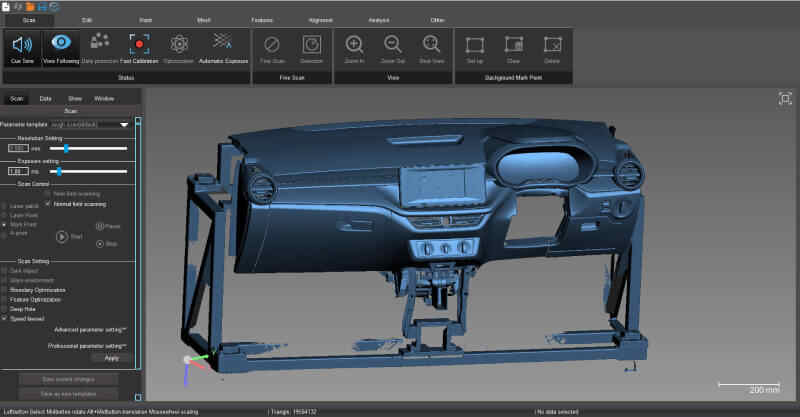
The project is to scan the instrument panel before and after the heating and cooling to check its changes. The scanned 3D data is compared against the original CAD data to gain insights into the deviations and dimensions.
Challenges of 3D Scanning a Black Instrument Panel
The instrument panel is the part that houses various gauges and lights, which feature slots, holes, and intricate details. It is challenging to measure instrument panels with traditional measurement methods such as verniers and measuring tapes.
Optical 3D scanning has emerged as a critical tool in inspecting automotive parts. The ability of 3D scanning to bridge the gap between finished products and CAD models has become extremely valuable in the inspection.
However, it is hard to inspect a black surface with 3D scanners, as it absorbs light, which can disturb the response to laser signals and result in noisy point clouds. Generally, technicians have to spray powder on the part to 3D scan it, which may damage the part.
SCANOLOGY’s 3D Solution
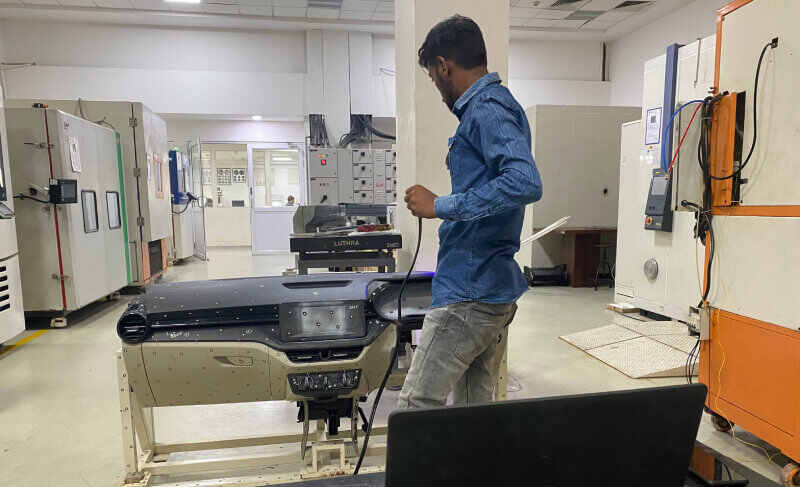
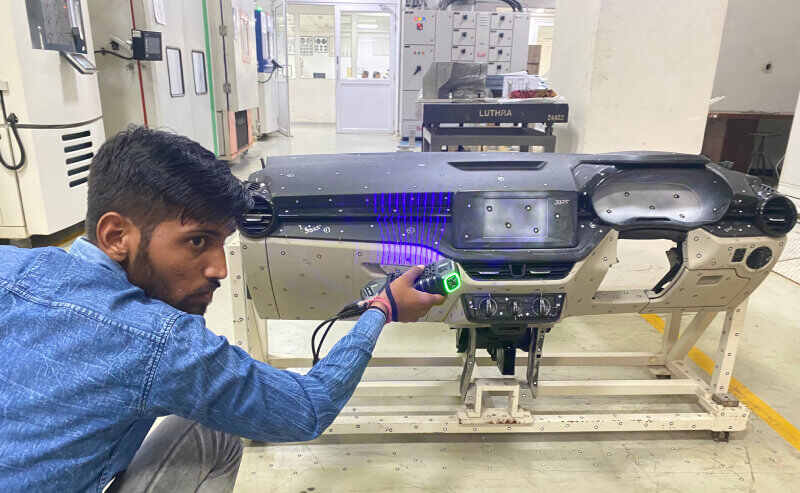
The instrumental panel, made of plastic and metal, is approximately 1400 mm and weighs 150 kg. The engineer used the compact 3D laser scanner SIMSCAN to conduct the measurement.
First, he scanned the targets and started scanning the part after optimization. It took about 10 minutes to scan the instrument panel and 2 minutes to post-processing the data.
Advantages of SIMSCAN 3D Scanner for Inspection
Booster for Measuring Hard-to-reach Areas
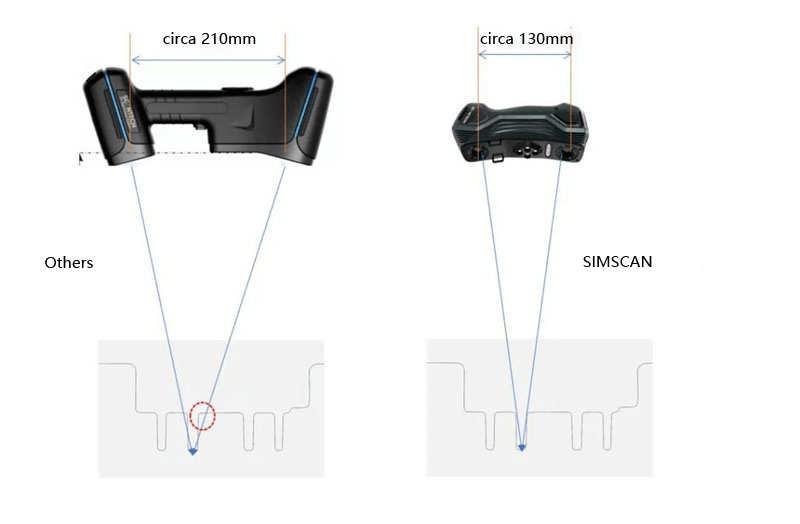
Handheld 3D scanner SIMSCAN features a short camera distance of around 130 mm, which leads to a small view angle.
Therefore, its scanning view is less blocked when compared to other common 3D scanners in the market, which ensures it to perform better in 3D scanning narrow spaces such as holes and grooves. The following picture shows how it works in capturing data from confined areas.
High Adaptability to Black Surfaces
There are three scanning modes of SIMSCAN 3D laser scanners to cater to different needs, namely ultra-fast scanning (17 blue laser crosses), hyperfine scanning (7 blue parallel laser lines), and deep hole scanning (1 extra blue laser line).
Due to their shorter wavelengths, blue lasers are more anti-interference than widely used red lasers. With the help of blue laser and sophisticated algorithms, users can accurately capture every detail of objects and construct 3D models quickly without having to spray powder on the part.
Efficient Measurement
SIMSCAN’s compact size, simplicity, and robust performance have made it an optimal choice for 3D measurement and inspection.
SIMSCAN scans parts efficiently with a measurement rate of up to 2.8 million MPS, enabling a smooth 3D digitization experience. The measurement accuracy can be up to 0.020 mm.


