TrackScan Sharp-S Optical 3D Scanning System

Large-volume and Precise Measurement Beyond Limits

Watch video
TrackScan Sharp-S Optical 3D Scanning System

TrackScan Sharp-S Optical 3D Scanning System

optical 3D scanning system
Precise Measurement Beyond Limits

TrackScan Sharp-S optical 3D scanning system, engineered with 25-megapixel industrial cameras and robust onboard processors for edge computing, is specially designed for measuring large-scale parts over a long distance with high speed. It brings optical measurements to new heights by offering a tracking distance of up to 8.5 meters, a high-precision measurement range of 135 m3, enabling powerful measurement experiences.

This measurement system is highlighted by its robust performance including 99 laser lines, and a measurement rate of up to 4.86 million measurements/s, offering highly precise and reliable measurement results.

Moreover, as the third generation of Scantech’s technology featured by intelligent and wireless 3D scanning, TrackScan Sharp-S is fully battery-powered and supports wireless data transfer, which frees the user from cable constraints and allows for smooth scanning in any environment.

3d scanning edge computing

Edge Computing

trackscan sharp series stable structure with cffim technology

Stable Structure with CFFIM Technology

81 Blue Laser Lines

99 Blue Laser Lines

Large-volume Tracking

135-m³
8.5-m Tracking

3d scanning 4860000 measurements

4,860,000 Measurements/s

high precision 3d scanning with 25-mp camera

25-MP Camera

high-precision measurement range

Long-distance and Large-volume Tracking

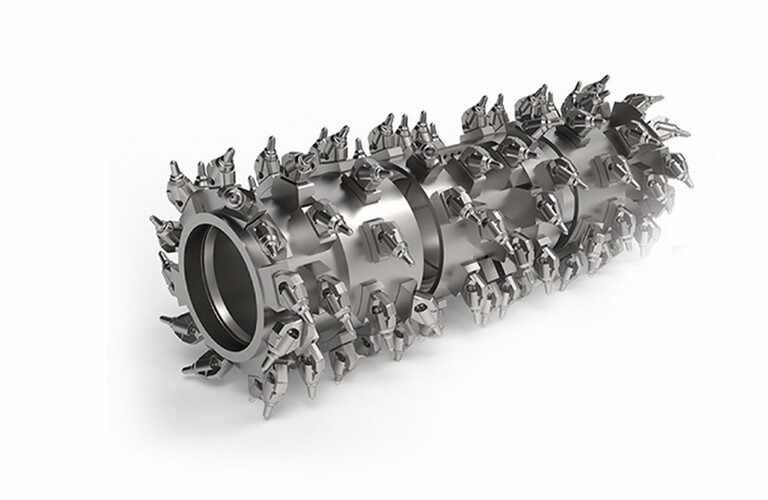
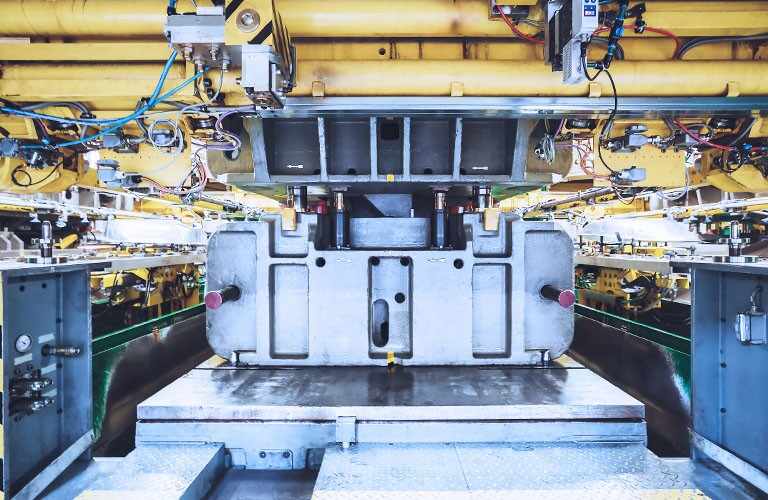
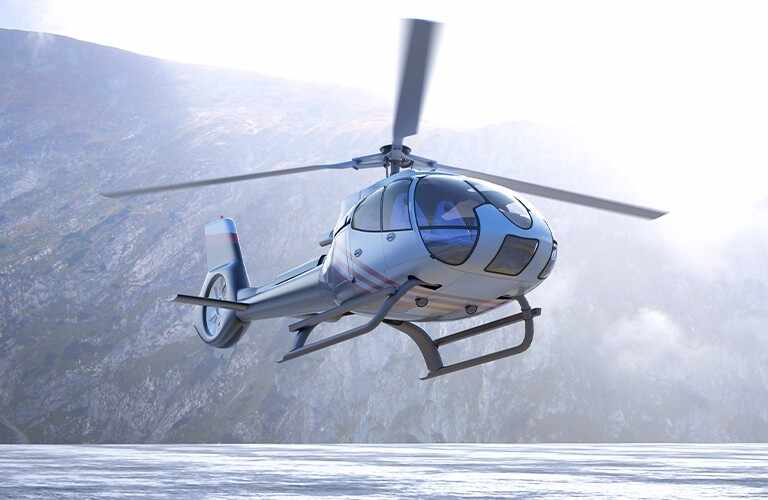
TrackScan Sharp-S adopts a dynamic adaptive LED algorithm and long-distance depth of field, which supports a max tracking distance as long as 8.5 meters. It allows users to effortlessly tackle a wide variety of challenges including measuring large-scale parts in aerospace, energy, and heavy industry.

Its 135-m3 industrial high-precision measurement range and 233-m3 scanning range are achieved thanks to its large tracking volume, robust edge calibration algorithm, and stable structure. It saves the hassle of moving trackers frequently and enables users to measure large components efficiently in just one position.

Large-volume Tracking

Long-distance and Large-volume Tracking

TrackScan Sharp-S adopts a dynamic adaptive LED algorithm and long-distance depth of field, which supports a max tracking distance as long as 8.5 meters. It allows users to effortlessly tackle a wide variety of challenges including measuring large-scale parts in aerospace, energy, and heavy industry.

Its 135-m3 industrial high-precision measurement range and 233-m3 scanning range are achieved thanks to its large tracking volume, robust edge calibration algorithm, and stable structure. It saves the hassle of moving trackers frequently and enables users to measure large components efficiently in just one position.

Wireless and Easy 3D Scanning

Wireless System

Both the system’s 3D scanner and optical tracker have powerful onboard processors for edge computing, which process images and data in real-time and output 3D coordinates. Combined with batteries, and external WNICs, it lets users measure objects wirelessly.

Plug-and-play

The system connects automatically when switched on, without requiring any complex settings, and starts scanning instantly.

User-friendly Operation

Its user-friendly buttons are easy to operate, offering flexible and free 3D scanning.

Wireless System
3d scanning with plug-and-play
flexible and free 3d scanning
TrackScan Sharp measurement system

Excellent and Stable Performance

The TrackScan Sharp-S measurement system features metrology-grade hardware and an innovative in-housed developed algorithm. In this way, the system achieves a maximum volumetric accuracy of 0.048 mm (10.4 m3), capable of meeting stringent industrial requirements for measurements.

The 3D scanner features an innovative stable structure with CFFIM technology to ensure lightweight design and high strength. Built tough, it maintains a stable performance and it is unaffected by thermal variations to ensure high-precision measurements. Its integrated structure allows users to grip it from any direction, enabling them to handle and position it freely. Its harmoniously integrated components create a unified and balanced look.

Excellent and Stable Performance

Excellent and Stable Performance

The TrackScan Sharp-S measurement system features metrology-grade hardware and an innovative in-housed developed algorithm. In this way, the system achieves a maximum volumetric accuracy of 0.048 mm (10.4 m3), capable of meeting stringent industrial requirements for measurements.

The 3D scanner features an innovative stable structure with CFFIM technology to ensure lightweight design and high strength. Built tough, it maintains a stable performance and it is unaffected by thermal variations to ensure high-precision measurements. Its integrated structure allows users to grip it from any direction, enabling them to handle and position it freely. Its harmoniously integrated components create a unified and balanced look.

capture 3d data rapidly

Fast 3D Scanning

Enhanced by advanced hardware and robust edge computing, TrackScan Sharp-S scans up to an impressive 4.86 million measurements/s with 81 blue laser lines. Whether it is complex aerospace parts or large-scale machinery, TrackScan Sharp-S is ideal for capturing 3D data and identifying deviations of parts rapidly, which facilitates more efficient and intelligent measurements for manufacturers.

Fast 3D Scanning

Fast 3D Scanning

Enhanced by advanced hardware and robust edge computing, TrackScan Sharp-S scans up to an impressive 4.86 million measurements/s with 81 blue laser lines. Whether it is complex aerospace parts or large-scale machinery, TrackScan Sharp-S is ideal for capturing 3D data and identifying deviations of parts rapidly, which facilitates more efficient and intelligent measurements for manufacturers.

Precise Detail Capture

The system’s fine scanning mode powered by 17 parallel laser lines enables it to scan over a large area while generating point clouds fast. This feature provides exceptional detail-capturing efficiency, allowing users to capture intricate details such as slots and corners with high precision and speed. As a result, parts are meticulously represented in 3D, ensuring accurate and comprehensive digital models.

Precise Detail Capture
3d scanner precise detail capture

Versatile Compatibility

intelligent edge detection

Intelligent edge detection

It boasts an optional function of intelligent edge detection, which is enabled by gray-value measurement. Users can inspect features such as holes, slots, rectangles, rivets, and edges precisely. It is capable of 3D scanning and obtaining information such as positions and diameters.

i-Probe500

i-Probe500

It can be paired with a tracking i-Probe 500 to probe inaccessible areas such as reference holes and hidden points. This contact measurement probe can ensure precise results with both wired and wireless options.

multi-tracker measurement

Multi-tracker measurement

Its measurement range can be dynamically extended by adding more i-Trackers so that it can measure large-scale objects without compromising accuracy.

Automated measurement

Automated measurement

Its brand-new 3D scanner structure is customized to be mounted on a robotic arm more suitably. Its 360-degree distributed target sets allow for all-round and precise tracking. It helps form an efficient batch measurement systems.

Watch the video

Explore how the TrackScan Sharp-S Optical 3D Scanning System redefines measurement limits, offering large-volume, high-precision 3D scanning experiences.


Technical Specifications

Type TrackScan Sharp-S
Scan mode Ultra-fast scanning 81 blue laser lines (Triple Cross Technology)
Hyperfine scanning 17 blue parallel laser lines
Deep-hole scanning Extra 1 blue laser line
Accuracy(1) up to 0.025 mm
Measurement rate up to 4,860,000 measurements/s
 Scanning area up to 800 mm × 700 mm
Laser class ClassⅡ (eye-safe)
Resolution up to 0.02 mm
Volumetric accuracy(2) 10.4 m³ (3.5 m) 0.048 mm
35 m³ (5.2 m) 0.069 mm
95 m³ (7.2 m) 0.128 mm
135 m³ (8.5 m)(3) 0.159 mm
Volumetric accuracy
(with MSCAN photogrammetry system)
0.044 mm+0.012 mm/m
Stand-off distance 300 mm
Depth of field 400 mm, 800 mm (Large depth of field)
Output format .stl, .pj3, .igs, .asc and etc., customized
Operating temperature range -10–40 °C
Operating humidity range (non-condensing) 10 ~ 90% RH
Interface mode USB 3.0, Network Interface
Certification CE, Rohs, WEEE, FCC
Patents CN109000582B, CN110992393B, CN111678459B, CN111694665B, CN112802002B, CN112867136B, CN112964196B, CN113188476B, CN113340234B, CN113432561B, CN113473034B, CN113514008B, CN113766083B, CN114001696B, CN114205483B, CN114554025B, CN114627249B, CN115289974B, CN115325959B, CN115493512B, CN115511688B, CN115661369B, CN115690333B, CN115695763B, CN116136396B, CN116206069B, CN116244730B, CN209263911U, CN210567185U, CN211121096U, CN214149174U, CN218103220U, CN218103238U, CN218411072U, CN218584004U, CN218734448U, CN219829788U, CN219834226U, CN307756797S, EP3392831B1, EP3907702B1, KR102096806B1,  US10309770B2, US11060853B2, US11493326B2
Hole position accuracy 0.05 mm

(1) ISO 17025 accredited: Based on VDI/VDE 2634 Part 3 standard and JJF 1951 specification, probing error (size) (PS) performance is evaluated.

(2) ISO 17025 accredited: Based on VDI/VDE 2634 Part 3 standard and JJF 1951 specification, sphere spacing error (SD) performance is evaluated.

(3) The industrial-grade high-precision measurement range of TrackScan Sharp-S is up to 135 m³, and its scanning range is up to 233 m³.

Type TrackScan-Sharp 49
Scan mode Ultra-fast scanning 21 blue laser crosses
Hyperfine scanning 7 blue parallel laser lines
Deep-hole scanning 1 blue laser line
Accuracy(1) Up to 0.025 mm (0.0009 in)
Measurement rate up to 2,600,000 measurements/s
Scanning area up to 500 mm × 600 mm (19.7 in × 23.6 in)
Laser class ClassⅡ (eye-safe)
Resolution up to 0.020 mm (0.0008 in)
Volumetric accuracy(2) 10.4 m³ (Tracking distance 3.5 m) 0.049 mm (0.0019 in)
28.6 m³ (Tracking distance 5.0 m) 0.067 mm (0.0026 in)
49.0 m³ (Tracking distance 6.0 m) 0.089 mm (0.0035 in)
Tracking Distance per i-Tracker 6000 mm (236.2 in)
Volumetric accuracy (with MSCAN photogrammetry system) 0.044 mm + 0.012 mm/m (>6m)
(0.0017 in + 0.00014 in/ft)
Hole position accuracy 0.050 mm (0.0020 in)
Camera pixels of i-Tracker 25 MP
Stand-off distance 300 mm (11.8 in)
Depth of field 400 mm (15.7 in)
Part size range (recommended) 0.1 m-12 m (3.9 in-472.4 in)
Operating temperature range 0 °C-45 °C (32℉-113℉)
Operating humidity range (non-condensing) 10-90 % RH
Interface mode USB 3.0, Network Interface
Certification CE, RoHS, WEEE
Patents CN106500627B, CN106500628B, CN206132003U, CN204854633U, CN204944431U, CN204902788U, CN204963812U, CN204902785U, CN106403845B, US10309770B2, CN204854633U, CN105068384B, CN105049664B, CN106403845B, CN214375417U, CN214379242U, CN214379241U, CN214149174U, CN109000582B, CN112802002B, CN210567185U, CN211121096U,C N114001671B, CN114001696B, CN114554025B, CN114205483B, US10309770B2, US11060853B2, KR102096806B1, EP3392831B1, CN218411072U, CN115325959B, CN218103238U, CN218103220U, CN114627249B, US11493326B2,  CN115695763B,  CN307756797S,  CN218584004U

(1) ISO 17025 accredited: Based on VDI/VDE 2634 Part 3 standard and JJF 1951 specification, probing error (size) (PS) performance is evaluated.

(2) ISO 17025 accredited: Based on VDI/VDE 2634 Part 3 standard and JJF 1951 specification, sphere spacing error (SD) performance is evaluated.

Download Brochure

We invite you to download our detailed brochure. Scantech provides comprehensive solutions to frequently asked queries about our 3D scanner.

High-tech 3D Scanners

Scantech’s handheld 3D scanners power the 3D scanning services. These instruments can obtain precise point clouds, which can be triangulated into a polygon mesh or STL file.
Due to their high precision, versatility, and portability, they can fulfill various metrology-grade 3D scanning projects.

Interested in the TrackScan Sharp-S Optical 3D Scanning System?

We highly encourage you to consult with an expert from Scantech. Our experienced professionals are proficient in identifying optimal solutions tailored to your requirements.

Contact Now