3D Scanning Subway Headstock for 3D Inspection

3D Scanning Subway Headstock for 3D Inspection

Jul 16, 2018

1.What is the requirement of the customer?

Customer describes requirements:
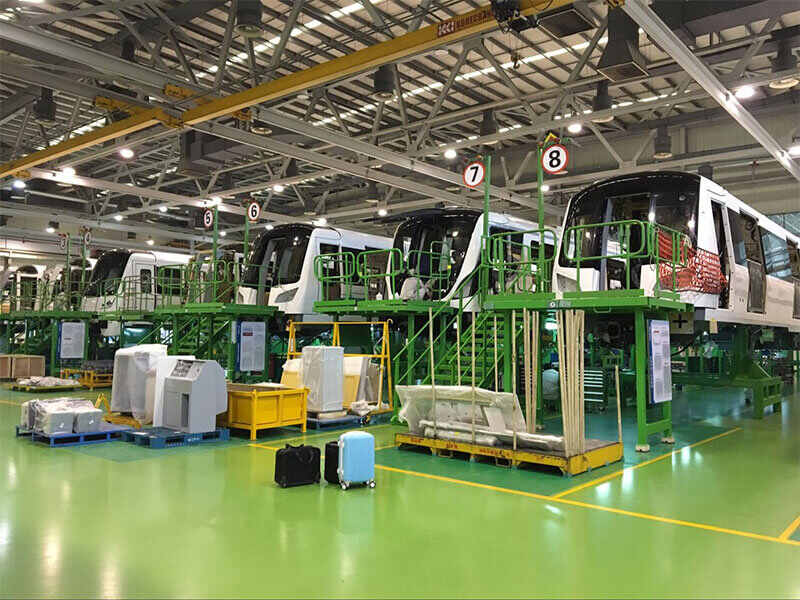
After the subway car head is manufactured, due to the large curved surface area of the car head, it is difficult to carry out quality control and accuracy verification with the traditional CMM, and the deformation of key parts cannot be detected.


Customer describes requirements

2.How will Scantech solve the question?

Solution:
Global positioning and then scanning
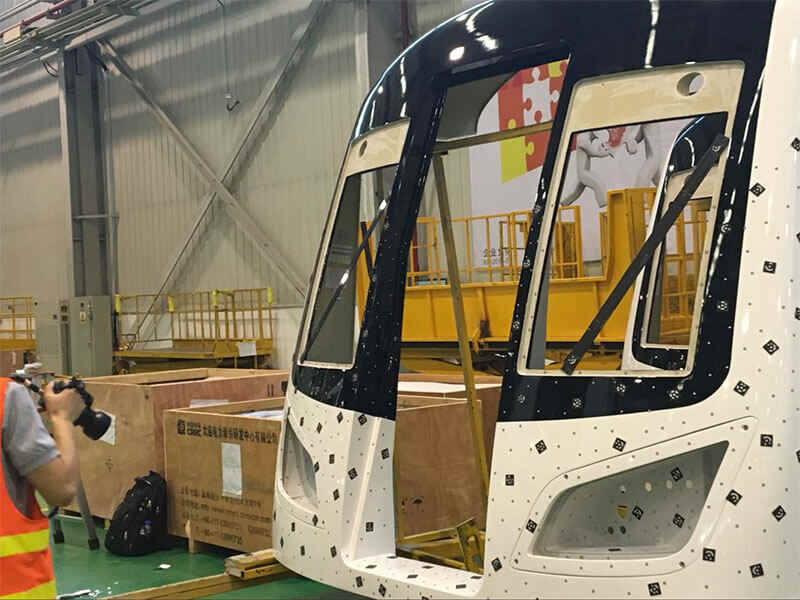
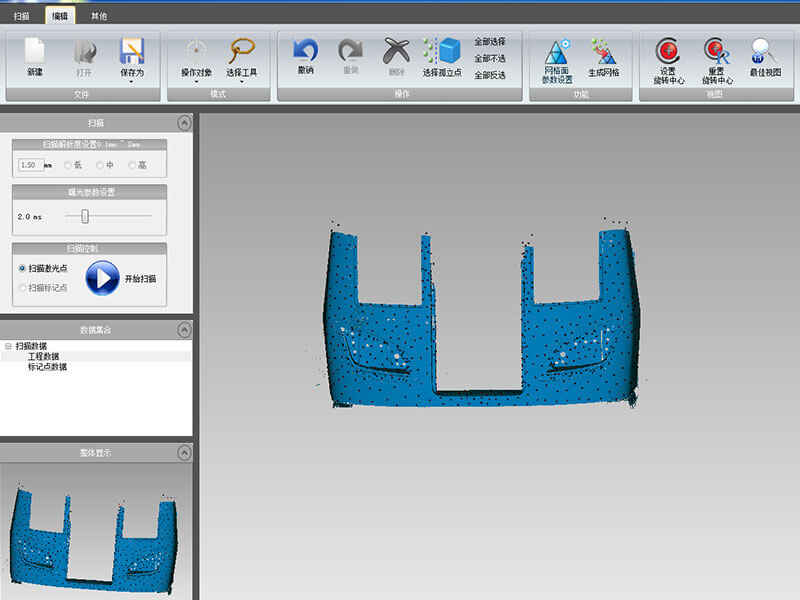
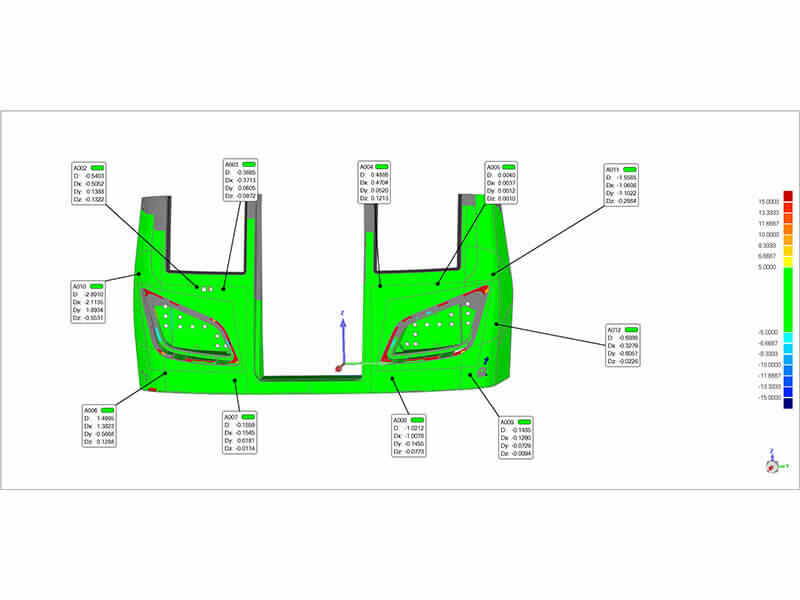
For the Deformation problems that occured after the car head is produced, firstly, the MSCAN Photogrammetry System is used to obtain the spatial positioning point of the car head, and then the handheld laser 3D scanner HSCAN331 is used to acquire the 3D data. Finally, comparing the scanned 3D data with the digital model of the car head, and calculating the shape variables of the car head, which is convenient for later improvement.

How will Scantech solve the question

Devices & models:

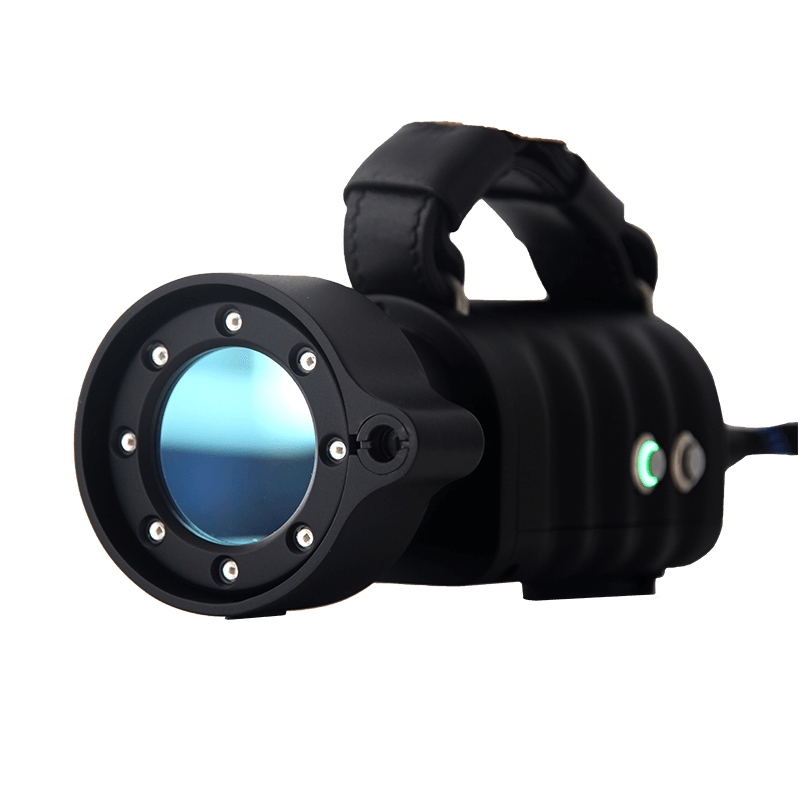
HSCAN331 Handheld 3D scanner

Working times of HSCAN and MSCAN:
10 minutes for marking points
5 minutes for Global photogrammetry system
10 minutes for scanning
Total Time: 25 minutes

3.What is the result of the processing?
MSCAN Photogrammetry System

MSCAN Photogrammetry System

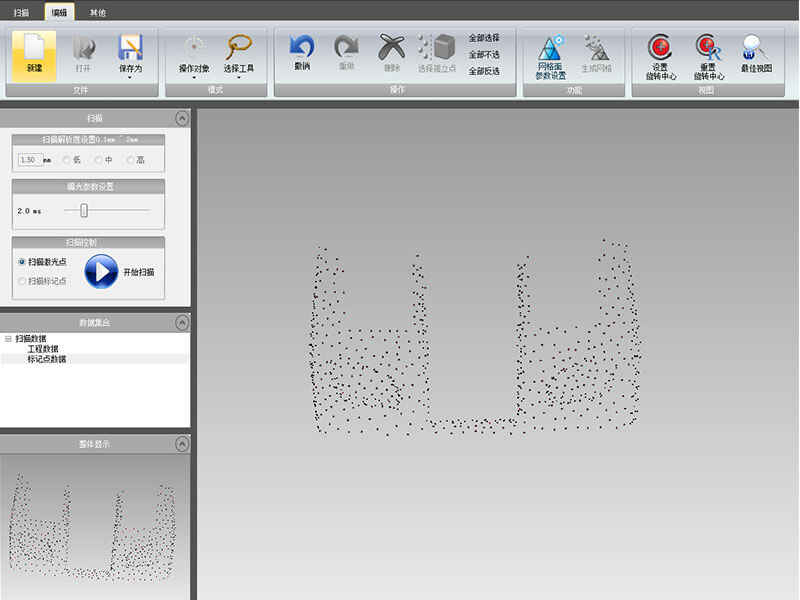
The global photogrammetry system is used to obtain the spatial coordinates of high precision mark points
The global error is controlled at 0.025mm/m

Scanning 3D date
The global error is controlled at 0.025mm/m
The result of 3d digital to analog comparison

4.Conclusion
Handheld 3d scanner HSCAN with MSCAN photogrammetry system solve the inspection problem for large volume efficiently.

Need Specific Information

3D Scanning Subway Headstock for 3D Inspection
ASK YOUR QUESTION

Newsletter

Subscribe Now