Application Story | Speed up Initial Sampling Inspection
An engine manufacturer headquartered in the Shanxi Province of China has made a name for itself in designing, developing, and manufacturing internal combustion engines.
To further strengthen its quality and product efficiency, the company is looking for a cost-effective way to inspect its initial sampling pipe for engines.
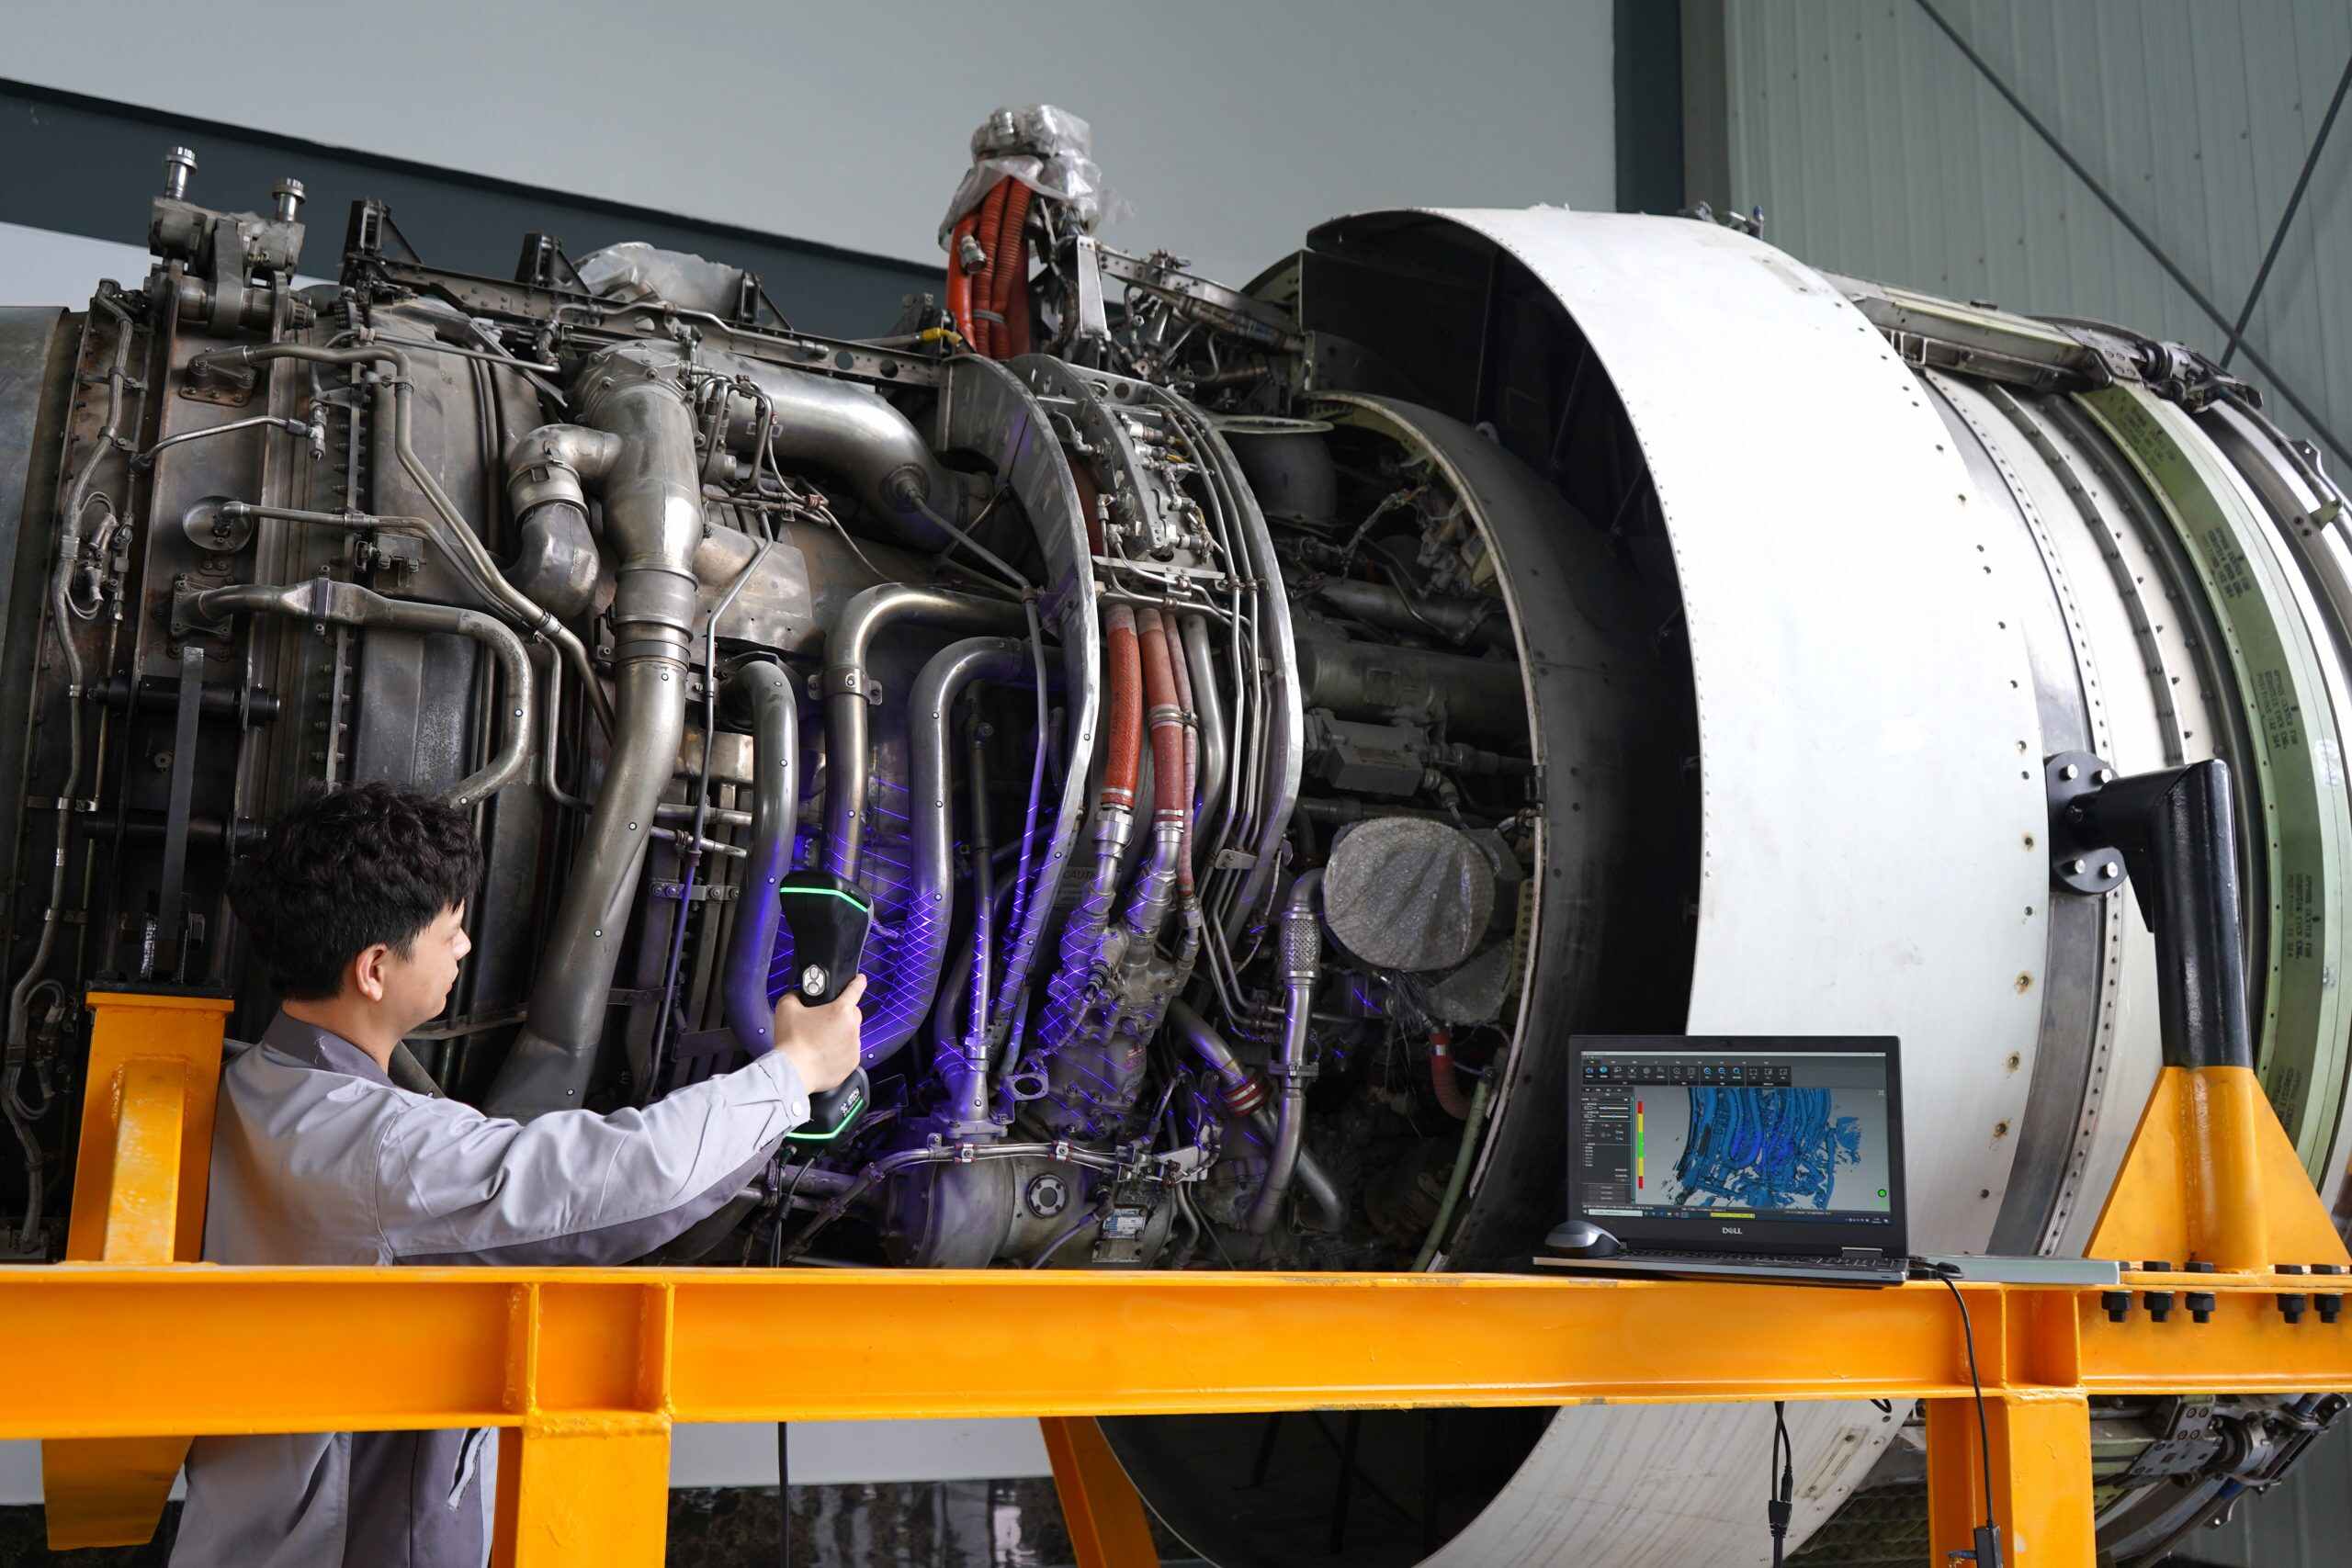
Inspecting a pipe is often technically challenging. Since the structure of mechanical parts is cramped and complex, these pipes of an assembly take on complicated geometries with various bending angles and spatial angles.
3D Scanner for Inspection
The quality assurance department of this company used to measure pipes with specially manufactured inspection gauges so that they can compare measurement data against original CAD files to determine deviations.
However, this approach made the production process slow and expensive.
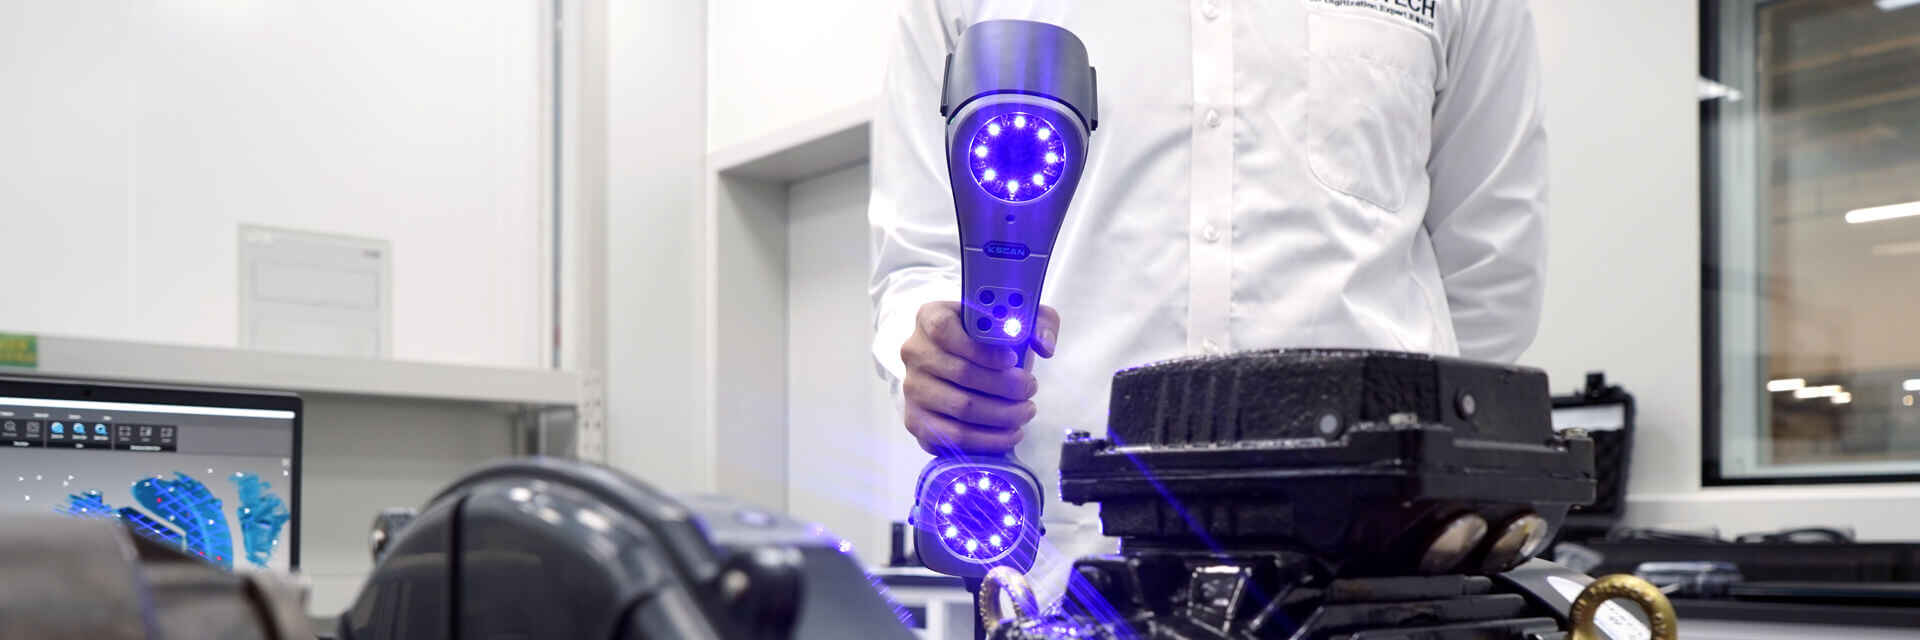
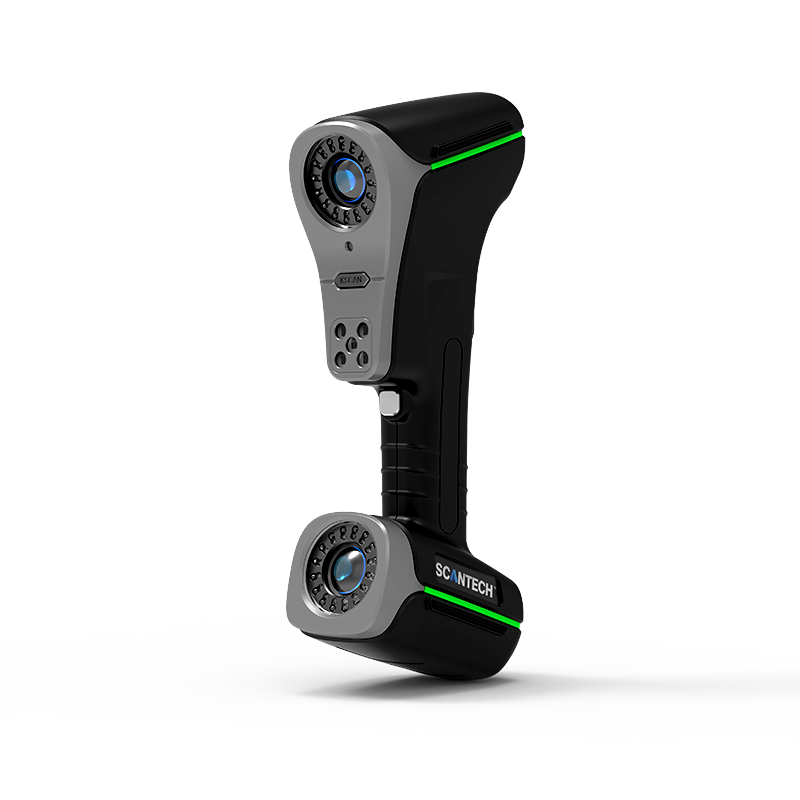
After searching among a big number of scanners on the market, the company finally set eyes on the KSCAN-Magic, a handheld laser 3D scanner developed and manufactured by SCANOLOGY.
Its ergonomic design makes scanning simple and intuitive. In just about 3 minutes, the team in the quality assurance department was able to complete the inspection of the initial sampling. The details are as follows:
- On-site measurement: 1minute
- Off-line data processing: 1 minute
- Off-line analysis report: 1 minute
After attaching markers to the surface of the pipe, the technician used the high-speed scanning mode of KSCAN-Magic to quickly capture 3D data of the pipe and ultra-fine scanning mode for smaller details.
The infrared laser of the scanner has high adaptability to different colors, and its blue laser helps to generate data with significantly less noise. During the scanning, the technician adjusted the position of the pipe without compromising the accuracy of the scan data.
With the measurement of up to 1.35 million MPS, the process to capture the whole data of pipes only took about 1 minute.
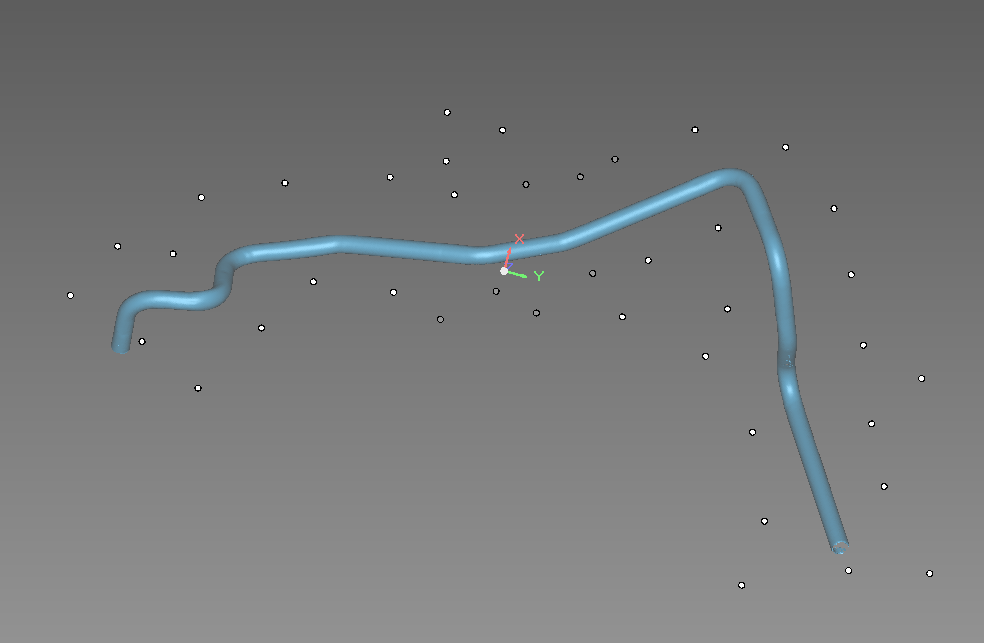
Figure 2: 3D data
After scanning, the technician compared the 3D data of the pipe against the original CAD drawing with built-in data processing software, and compensation values like YBC /LRA were quickly generated and fed back to the pipe bender to improve the quality of production.
The technician expressed, “The scanner is optimal for our task. The scanning is really fast, and the measurement result is accurate. I am impressed by its extensive data-processing capabilities.”
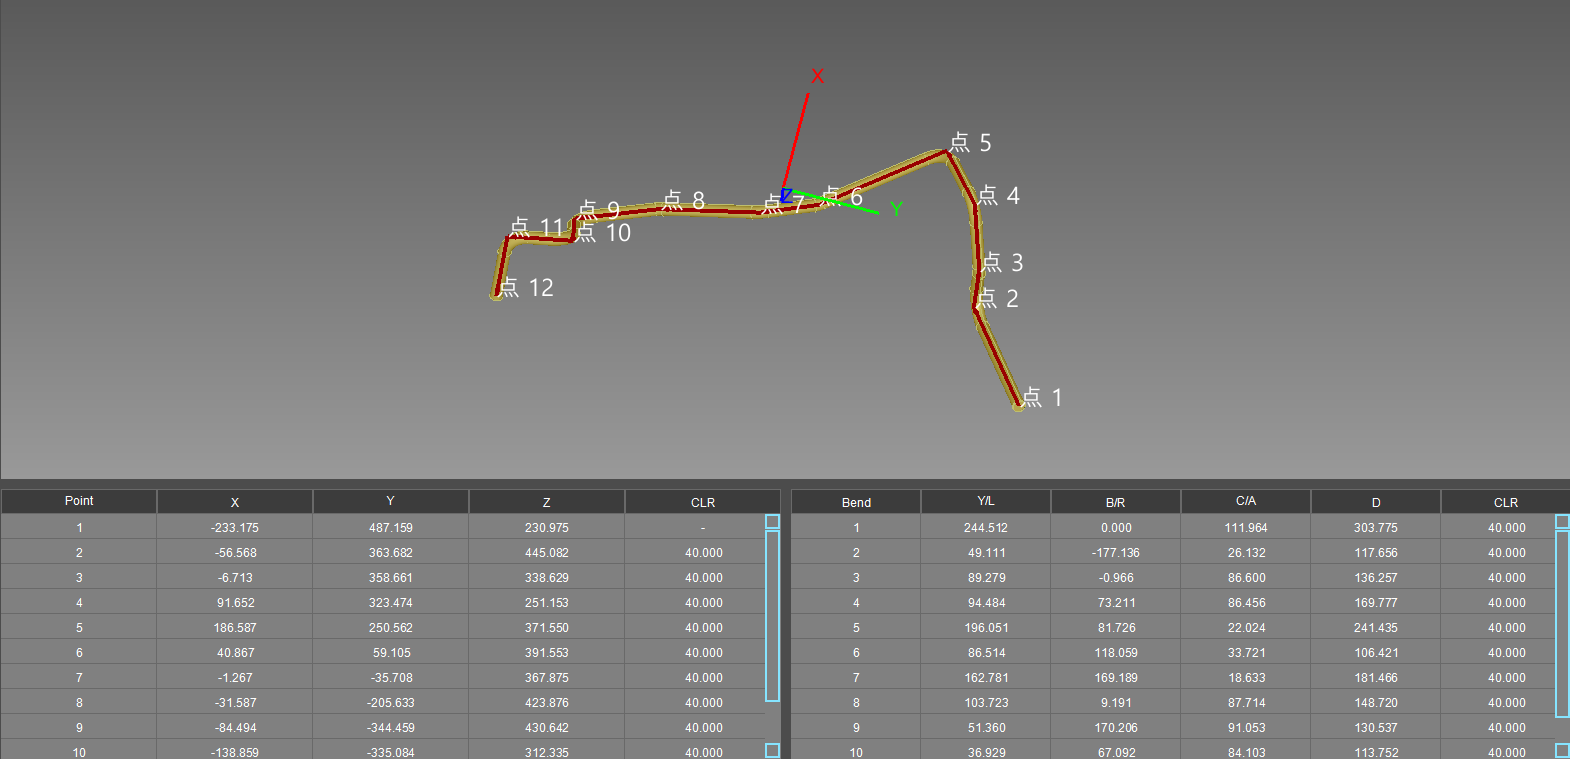
Figure 3: measurement report
Summary
- Built-in photogrammetry, infrared laser, and blue laser technology lead to unparalleled scanning accuracy
- Quick to calculate the deviation between the nominal value and the actual value, save cycle time of inspection by 60%
- Easily generate YBC /LRA values, accurate for parameter adjustment of pipe bender

