Scientific Research on 3D Scanning of Helicopter
Small mistakes will affect the helicopter’s performance during researching and developing. It’s necessary for engineers to find an effective way to get acquire 3D data of it, which will give them a more comprehensive understanding of helicopter R&D.
What’s the purpose of the research?
An engineering laboratory in a university requires to measure a helicopter for academic study on aerospace manufacturing. The complete 3D model helps them better understand the design concept and technical detail of the helicopter. Therefore, they need to get the complete 3D model with high precision.
What are the key points for scanning a helicopter?
- The helicopter is large in size. It is 9m long and 4m wide, and its rotor blade deployment length is 13.5m.
- It’s a challenge for normal 3D scanners to work alone. The volumetric accuracy is not enough to handle with large objects.
- On the purpose of scientific research, the laboratory needs to conduct reverse engineering. 3D scanning extremely simplifies the reverse engineering and improve work efficiency. The precise CAD model will be convenient to researchers for further modification and profoundly comprehend the helicopter’s structure.

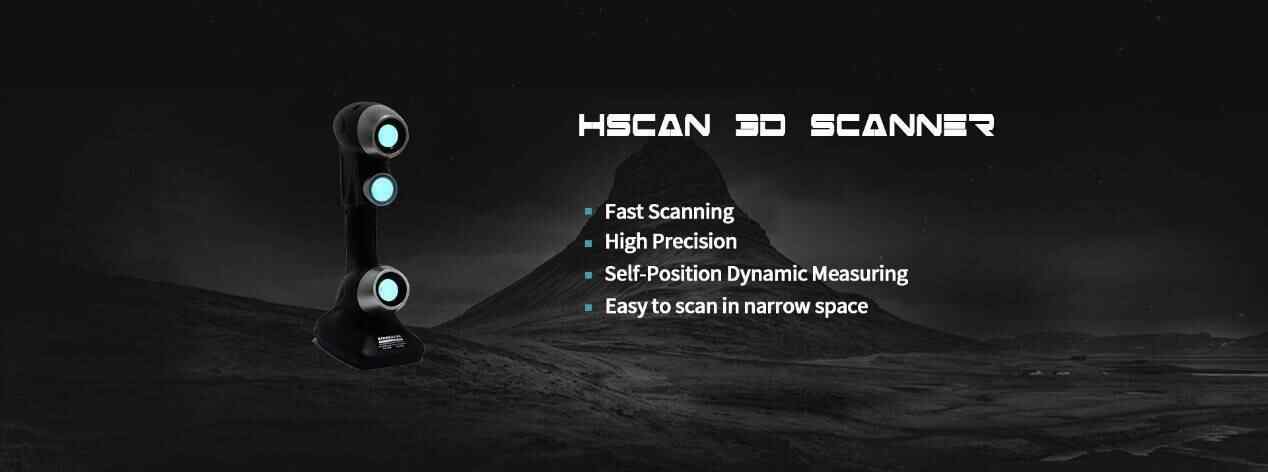
SCANOLOGY combines HSCAN771 3D scanner with MSCAN photogrammetry system to capture 3D data of the helicopter.
Metrology-grade HSCAN771 3D scanner adopts multiple beam lasers to obtain 3D point cloud from object surface:
- 480,000 measurements/s in red laser mode
- 0.03mm accuracy in blue laser mode
- Self-Position Dynamic Measuring
- Real-time Visualization
- High Adaptability under a different work environment
- Easy to scan in narrow space
No matter for curved helicopter body parts or small cabin, HSCAN771 works with MSCAN photogrammetry system when scanning large scale to decrease accumulative errors greatly. The 3D model and 3D data of the helicopter can be easily obtained by one time.

SCANOLOGY MSCAN photogrammetry system is the top option for large volume 3D measurement.
- Volumetric accuracy is up to 0.025mm/m
- Easy-carrying with less than 0.5KG weight
- Auxiliary light to capture 2D images smoothly in a dark environment
- Self-position without the extra device
It can match with handheld 3D scanners to improve accuracy, and can also work individually to obtain 3D data and geometric deformation for large volume.

Scanning process
Step 1: attaching markers and code sticker
Step 2: spray the powder on the windows of the helicopter.
Tips: glass window is made of transparent materials, so it must be sprayed powder to capture 3d data.

Step 3: obtain 3D point cloud data
Step 4: get the stl 3D data

In addition, our MSCAN-Plus, upgraded by MSCAN, further raises measurement speed of photogrammetry system. Its wireless working mode enables flexible operation without cables and PC.
For more cases on large objects simultaneously measured HSCAN 3D scanner and MSCAN photogrammetry system, please read:


