CFD analysis of engine combustion chamber

What is CFD?
CFD stands for Computational Fluid Dynamics and is a technique for analyzing and solving fluid flow related problems using numerical analysis and data structures. The computer is used to perform the calculations required to simulate the interaction of liquids and gases with surfaces defined by boundary conditions.
3D measurement can provide highly accurate structural 3D data for CFD analysis, which brings great convenience to CFD analysis.
Key Question
What is the scanning object this time?
Engine cylinder cover, cylinder cover surface part precision processing, through three casting holes positioning.
Why do we need to measure the 3d data of cylinder cover?
In the manufacturing process of cylinder cover, the customer found that the internal structure of combustion chamber had changed, and hoped to obtain the change size of cylinder cover structure by 3d detection, and to simulate the changed structure.
What is the original 3d measurement of the cylinder head? What is the problem?
Vernier caliper
This measurement method obviously has many problems:
1.Contact and photo-type measurement methods are difficult to detect some of the parts, the efficiency is low.
2.The details of the key detection parts are very small and require extremely high resolution. It is difficult for ordinary 3D scanners to measure high detail, which is laborious and time consuming.
What is the solution of SCANOLOGY for these difficulties?
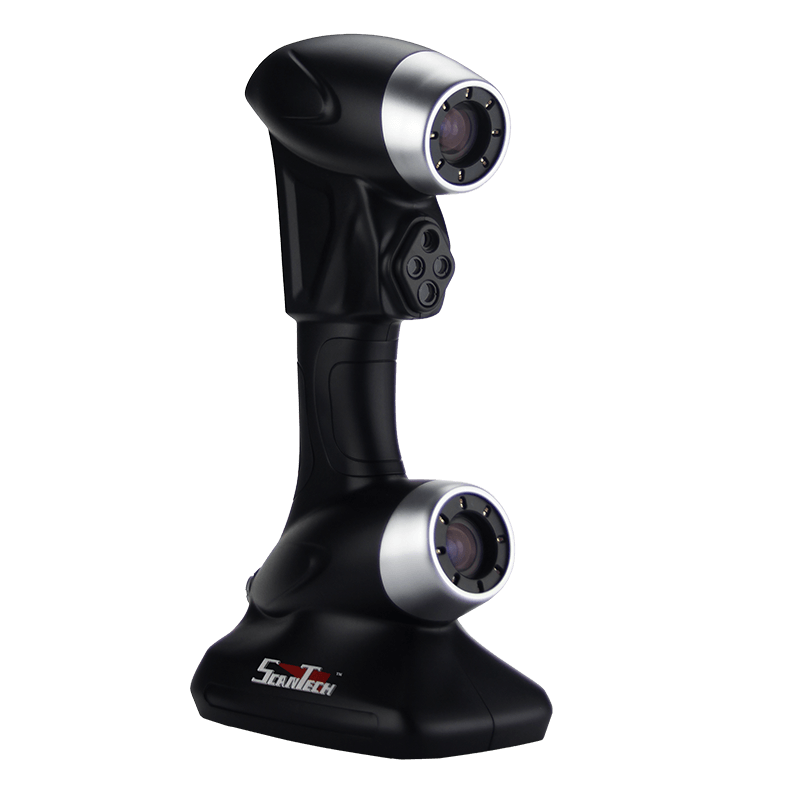
The two-color laser PRINCE775 3D scanner can adjust the resolution of the scanner according to the detail requirements, which can ensure the high efficiency and convenience of measurement, and can obtain the fine features of the workpiece surface that are difficult to obtain by ordinary handheld 3D scanners.
What are the different advantages of PRINCE?
1.The 120fps high resolution camera in blue mode ensures high detail data.
2.The scanning mode and resolution can be adjusted quickly to control the amount of file data while meeting measurement speed and detail requirements.
3.The single-beam laser scanning mode ensures that the dead Angle of deep hole can also obtain 3d data.
SHOW TIME
Customer: An engine production company
Scanning object: Engine cylinder cover
Scanning device: PRINCE 775 handheld 3D scanner
Aim: For dimensional analysis and analogue simulation
With the rapid development of the automotive industry, all kinds of automated high technology production methods are also constantly introduced into the production process, but the 3D inspection of automotive parts has always been difficult. Due to the large difference in size of various components, complicated structure and many key parts, the 3D measurement machine can only detect the 3D data of the limited parts. The non-contact laser 3D scanning technology overcomes the shortcomings of the traditional measurement mode and is more and more attracted by the automobile manufacturer.
An engine manufacturer is looking for an optimal solution from SCANOLOGY, for three-dimensional measurement of engine cylinder cover. The customer found that the structure of the cylinder cover changed during the production process, which required an overall inspection of cylinder cover and key scanning of combustion chamber parts for simulation. Due to the complicated structure of the engine cylinder cover, there are high requirements for the details, and the ordinary3D measurement method is difficult to meet the customer’s requirements in all aspects. Therefore, SCANOLOGY consider to provide PRINCE with extremely high detail to solve the problem of detecting the cylinder cover.
Solution
After fully understanding the customer’s requirements, SCANOLOGY uses PRINCE775 to scan the workpiece. Firstly, the surface of the workpiece is quickly marked with the reflective marking point, and the red light mode is used to quickly acquire the 3D data for the parts with low detail requirements, the blue light mode is used to accurate scan the key parts such as the combustion chamber. After the data is sampled and meshed, it is imported into the corresponding digital model for detection and analysis.
Scanning Object: Engine Cylinder Cover


Scanning combustion chamber with blue light mode
Device & Model: PRINCE775 Handheld 3D scanner

3D scanning results

3D stl data

Blue light scanning detail display

Detecting comparison results

Deviation comparison

2D Deviation Comparison
3D Scanning Working Times
- It takes 2 minutes to mark points.
- It takes 10 minutes to scan.
- It takes 10 minutes to data post processing.
- 22 minutes in total.
The accuracy of PRINCE 775 blue light 3D scanning is up to 0.03mm, the resolution is up to 0.02mm, which fully meets the scanning requirements of detailed features of complex parts. PRINCE’s fast and high-precision reduction of precision objects, no matter the object is large or small, the PRINCE series of red and blue modes can help each other coordinate, even if the details are smaller than the coin texture, PRINCE can still obtain high-precision 3D data, It is extremely convenient for parts manufacturers to inspect parts of all sizes.


